
Quickstart
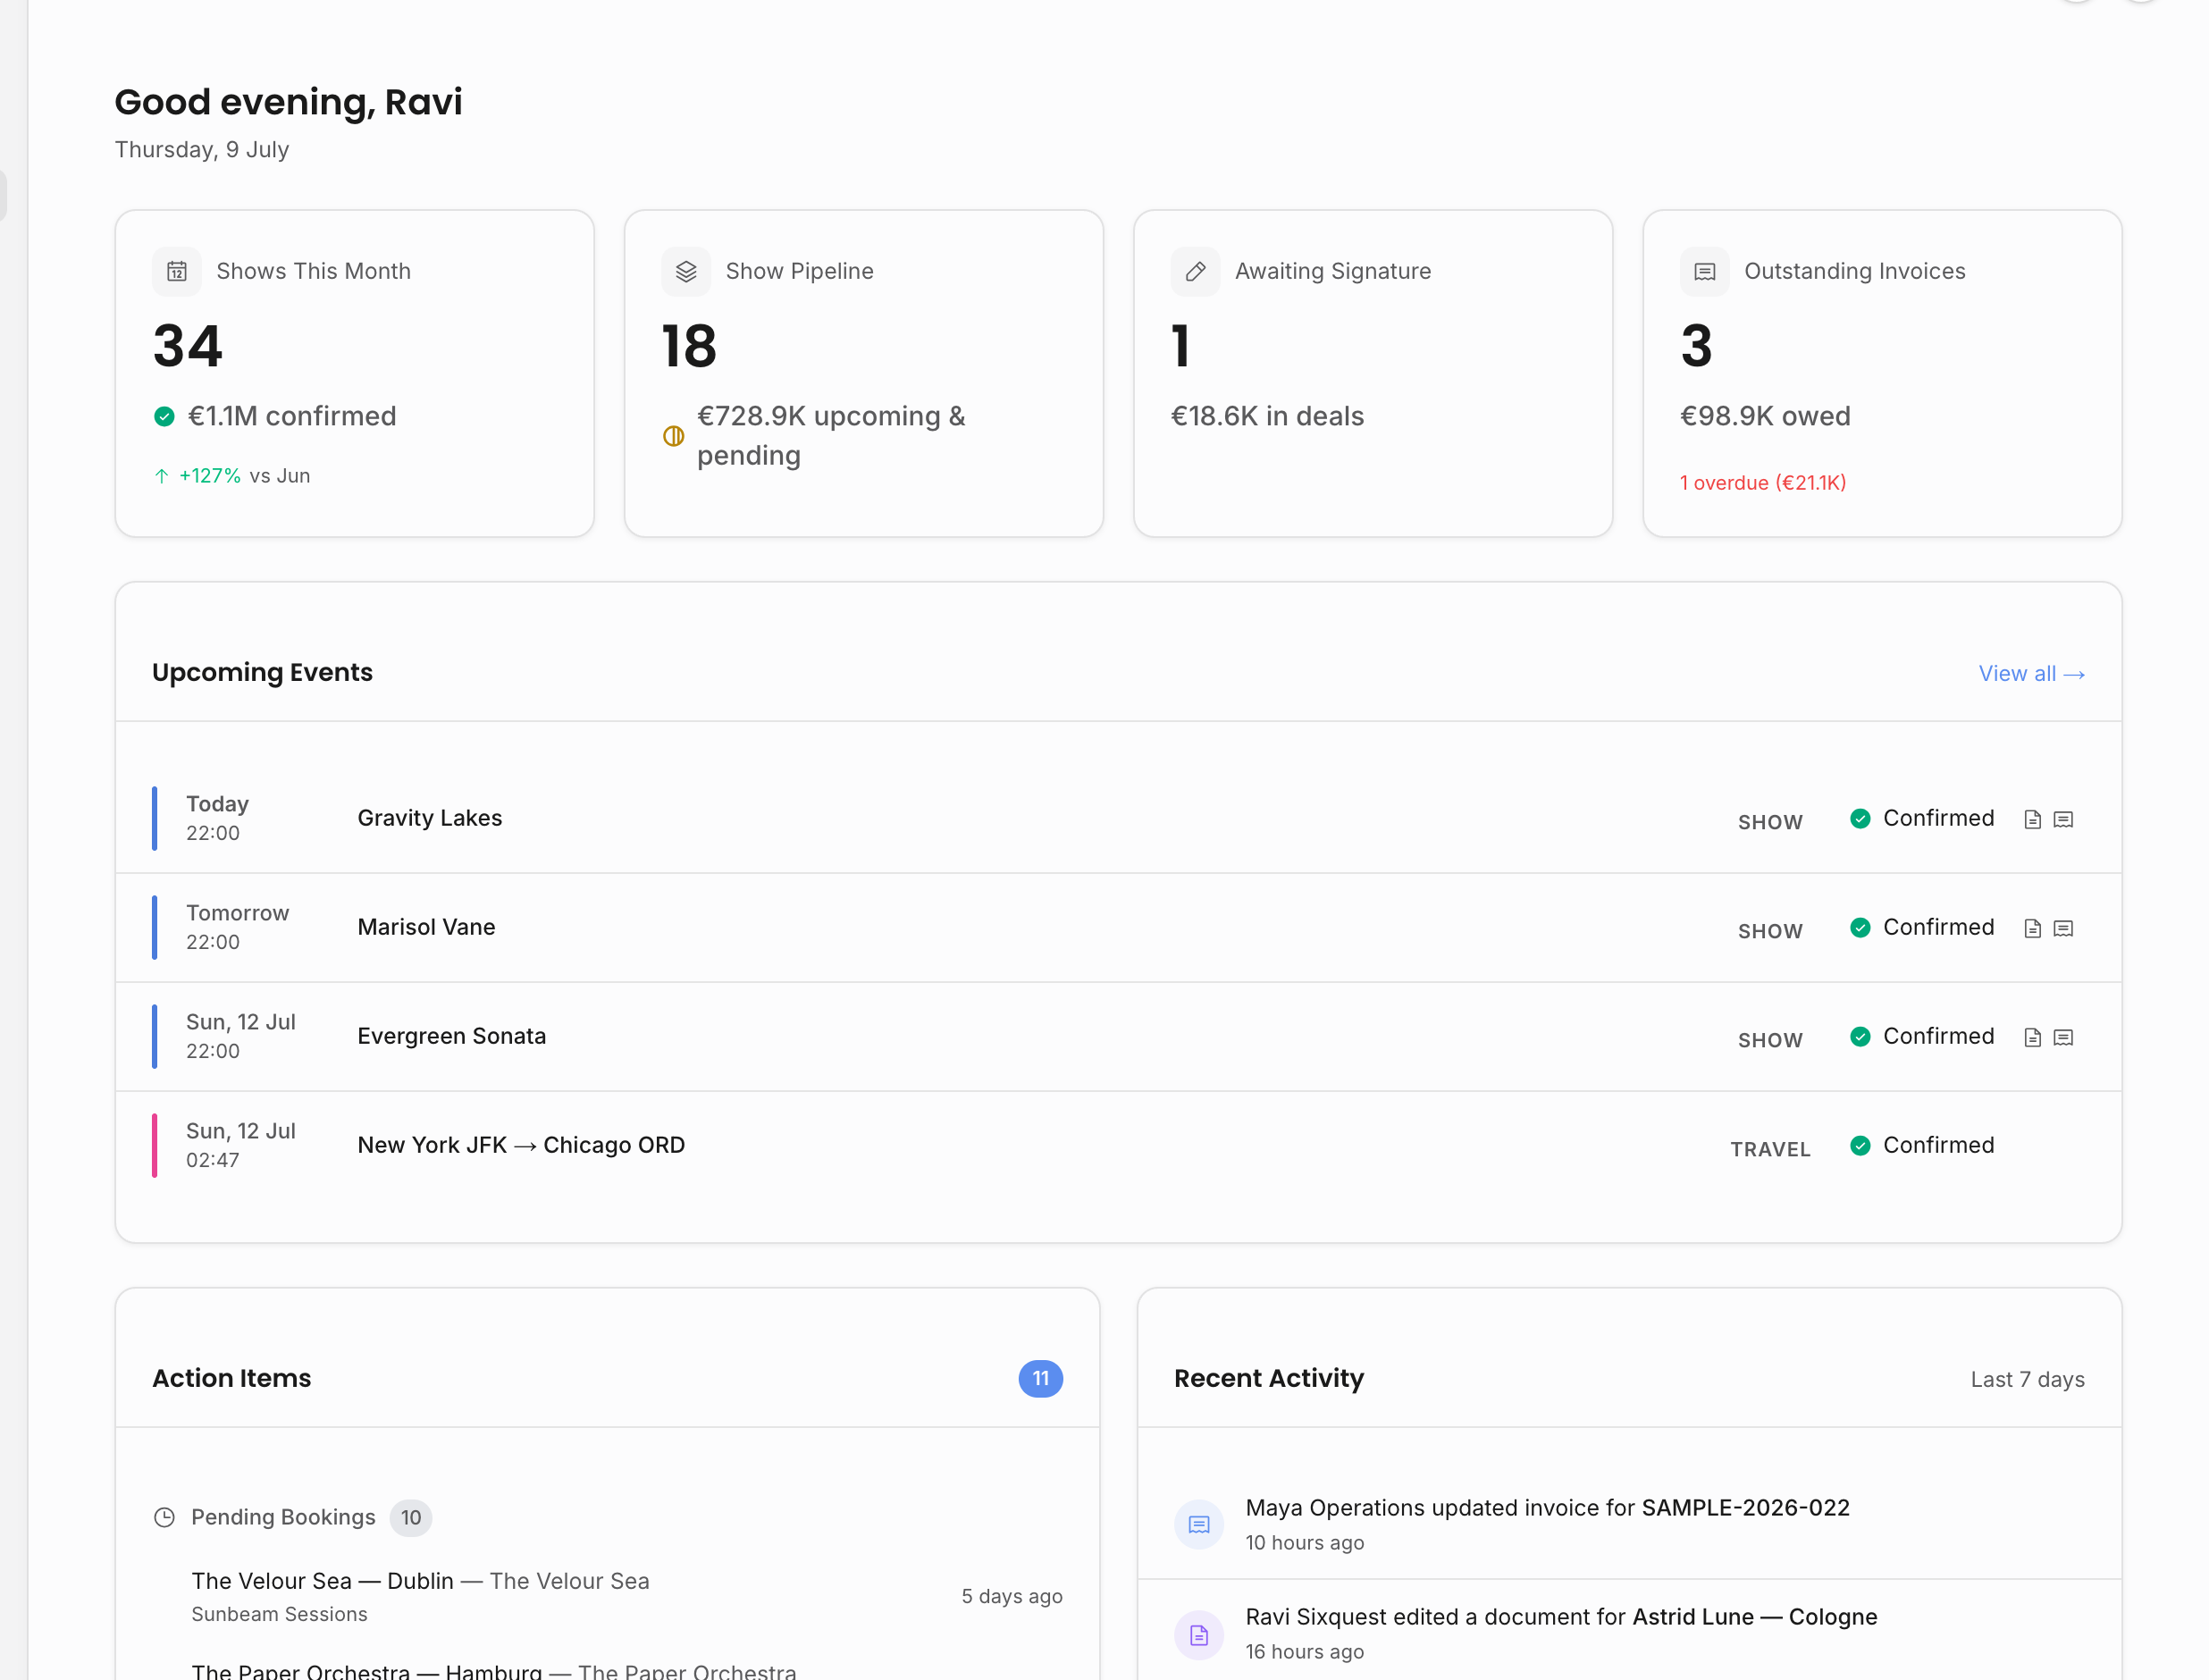
Offstage is where your agency plans shows, manages artists, invites teammates, creates documents, sends contracts and invoices, and reads analytics. This guide gets you oriented without trying to explain every feature at once.
- 1Create your agency.
Sign up or accept a team invitation, then create or select your agency. This is your agency's private space: your team works inside it, and people outside the agency only see what you explicitly share with them.
- 2Use the guided tutorials.
Open the Getting started launcher in your workspace. The tutorials point at the real controls for the calendar, shows, team invites, documents, artists, and analytics. The list adapts to your permissions, so a teammate may see a smaller set than an agency owner.
- 3Add your first artist.
Open Artists and choose New. An artist is anyone you book. For example, add "Aurora Skies" so you have someone to schedule a show for.
- 4Book a show.
Open the Calendar, click New, and pick Show. Choose the artist and the venue, then set the date. The show now lives on your calendar alongside travel and general events.
- 5Take it further from the show.
From the show detail page, create a contract, create an invoice, add tasks, attach files, and post team updates without losing the booking context.
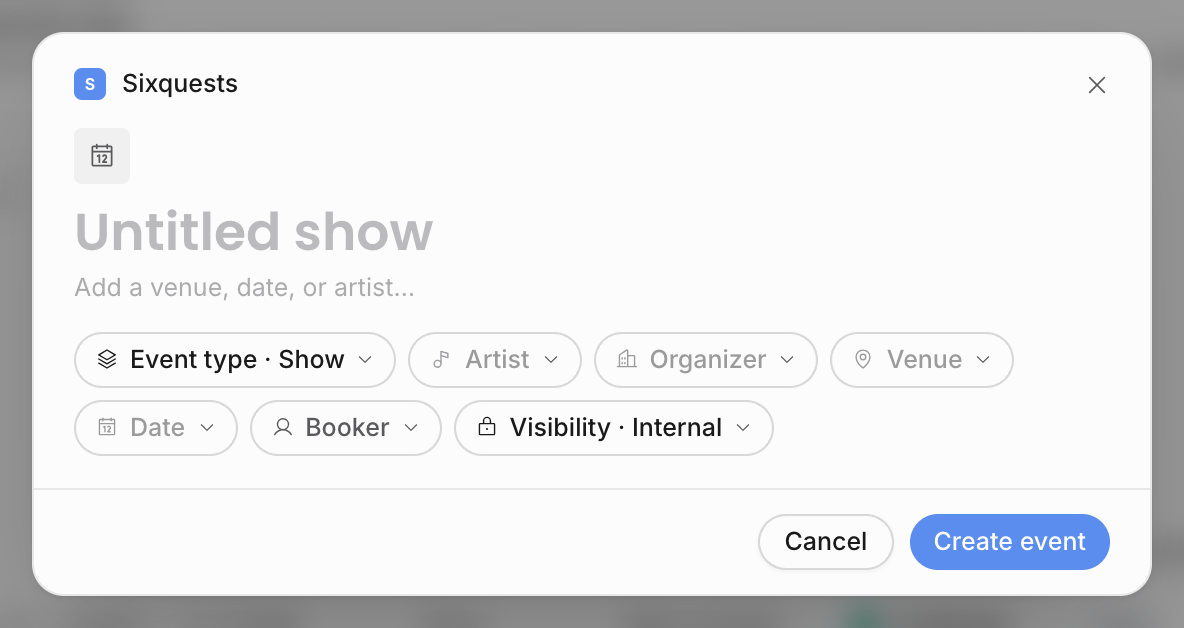
For a fuller first-run path, start with Guided tutorials. They are the fastest way to learn the product because they point at the actual controls in your workspace.
For sign-in, invitations, password reset, agency creation, and switching agencies, see Account access.
Times you enter on an event are always local to the place it happens. A show at 20:00 reads 20:00 for everyone on your team, wherever they are. See Event times and time zones.
What to do next
Now that you have booked a show, the natural next steps are:
- Create a show, in full, with venue, times, and the artist.
- Work a show, once the event exists.
- Send a contract to the organizer.
- Invoice and get paid once the show is confirmed.
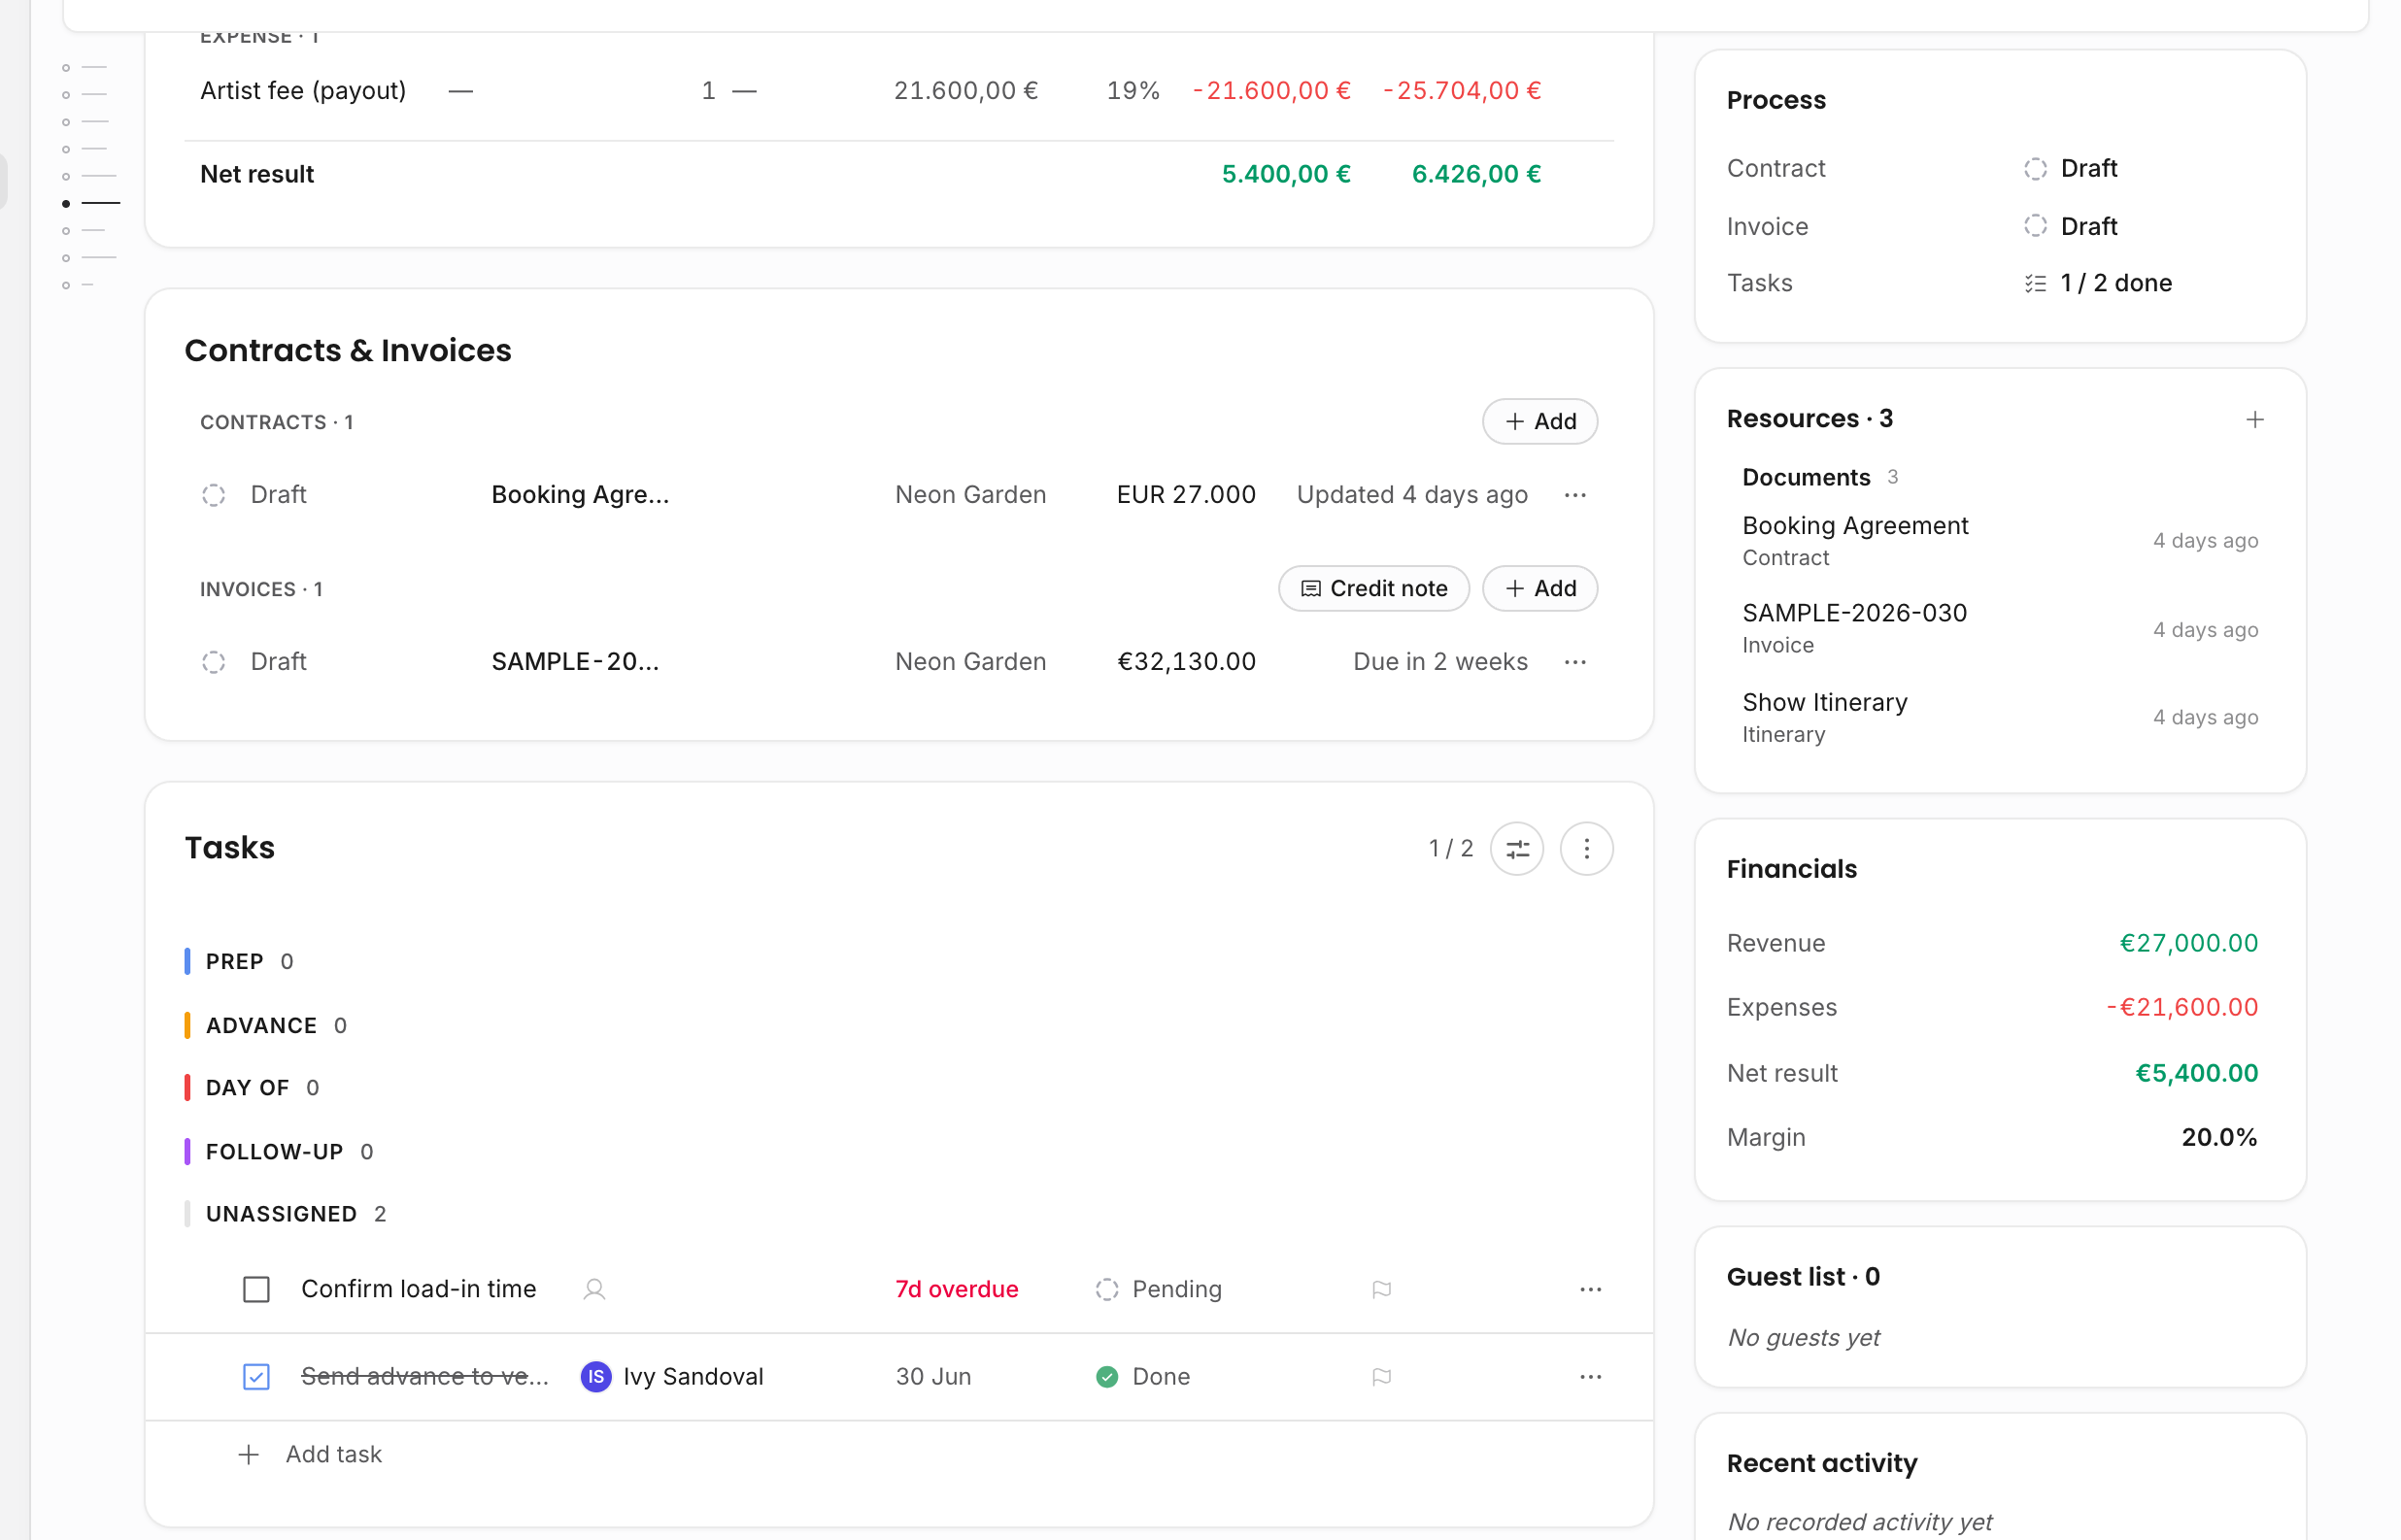
If you want to understand how the pieces fit together first, read Key concepts.